Tuesday, November 1, 2011

Thankful Tree

Finally, part II of the "Give Thanks" post I did last week.  I came across the idea of a "Thankful Tree" quite a while ago and I haven't forgotten.  The idea is to have leaves that the kids write on each day, stating something they are thankful for during the month of November, placed on the branches.

For this project I needed brown butcher paper, paper leaves of various colors, and painter's tape.  I started by taping the butcher paper on the wall and drawing the trunk and branches.


Here are the leaves I am using.  I used the die cut machine at work (school) to cut them out.


Here is what the wall looks like right now.


Each night, the kids will take a leaf and write something they are thankful for on it.  Then they will place it up on a branch of the tree.  The leaves are taped on the wall using painter's tape.  By the end of the month the tree will be filled with colorful leaves and thankful thoughts.

Monday, October 31, 2011

Sunday, October 30, 2011

Something I Whipped Up: Monster Eyes

Here it is the day before Halloween and I didn't have anything little for the kids' teachers.  I wanted something easy and that didn't require any baking.  I searched through Pinterest and came across this idea from The Fickle Pickle.

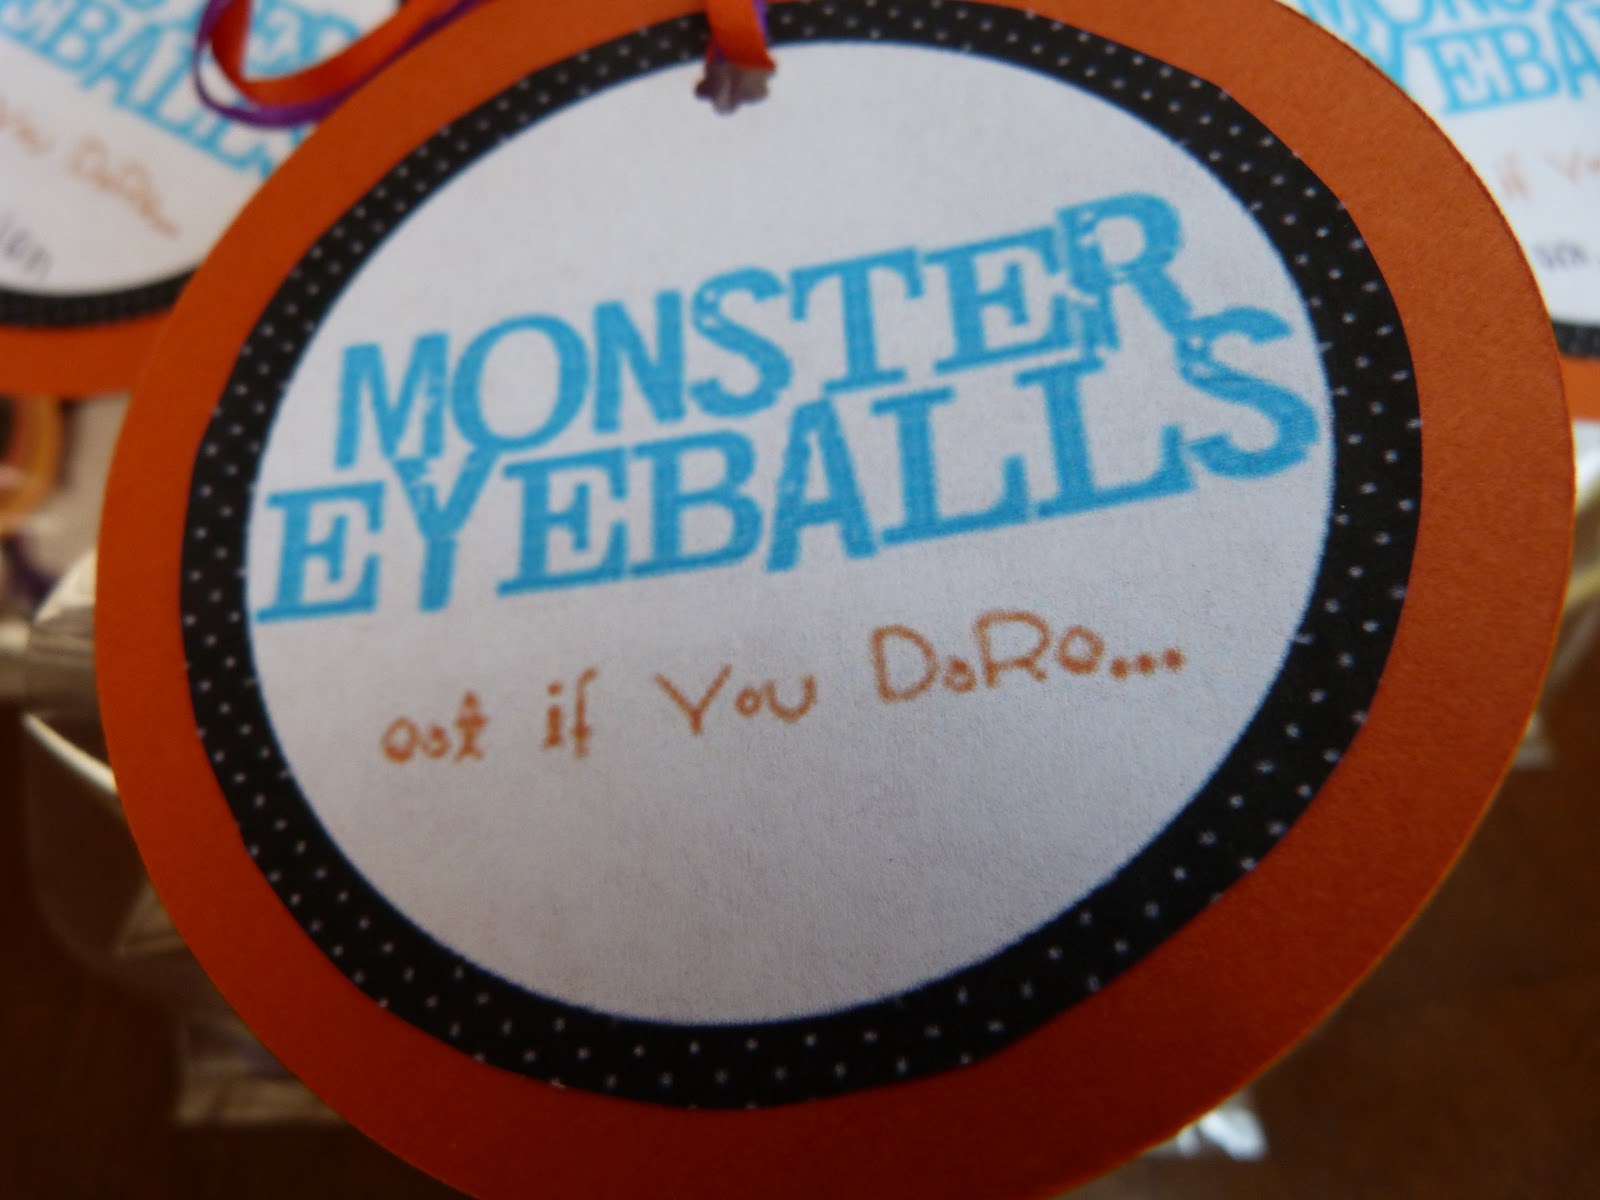
I used her free printables for the eyeballs and the gift tag.  The idea is to glue/tape the "eyeballs" to one end of a mini Reese's cup.


Friday, October 28, 2011

Give Thanks

I have to admit, now that we're this close to Halloween I'm ready to begin thinking about Thanksgiving.  This post is part one of two I have planned.  I needed some sort of framed art and now that Hobby Lobby has just opened in our area, I knew I'd get some inspiration from walking through the aisles.  Can I just give a huge shout-out to Hobby Lobby...totally Michael's and Joann's on steroids.

Not long ago I gave canvas art a try.  When I purchased the canvas squares, they came in a pack of 7 so I had some extras.  I knew somewhere....somehow I'd use them up.  

Here are the materials I started with:


I began by spray painting the canvas.  I went to the cupboard to pull out Rustoleum's Espresso, but I didn't have it.  I did have a "hammered metal" can in there so I used that.  The canvas actually ended up with a very smooth finish.  The next step was to adhere the scrapbook paper to the canvas.  I (very carefully) added Elmer's glue to the back of the paper and made my way around the edges.  All was good until I reached the 3rd side and I began to get some buckling in the paper (see below.)  I worked with the paper and eventually got it looking pretty good, but not perfect.


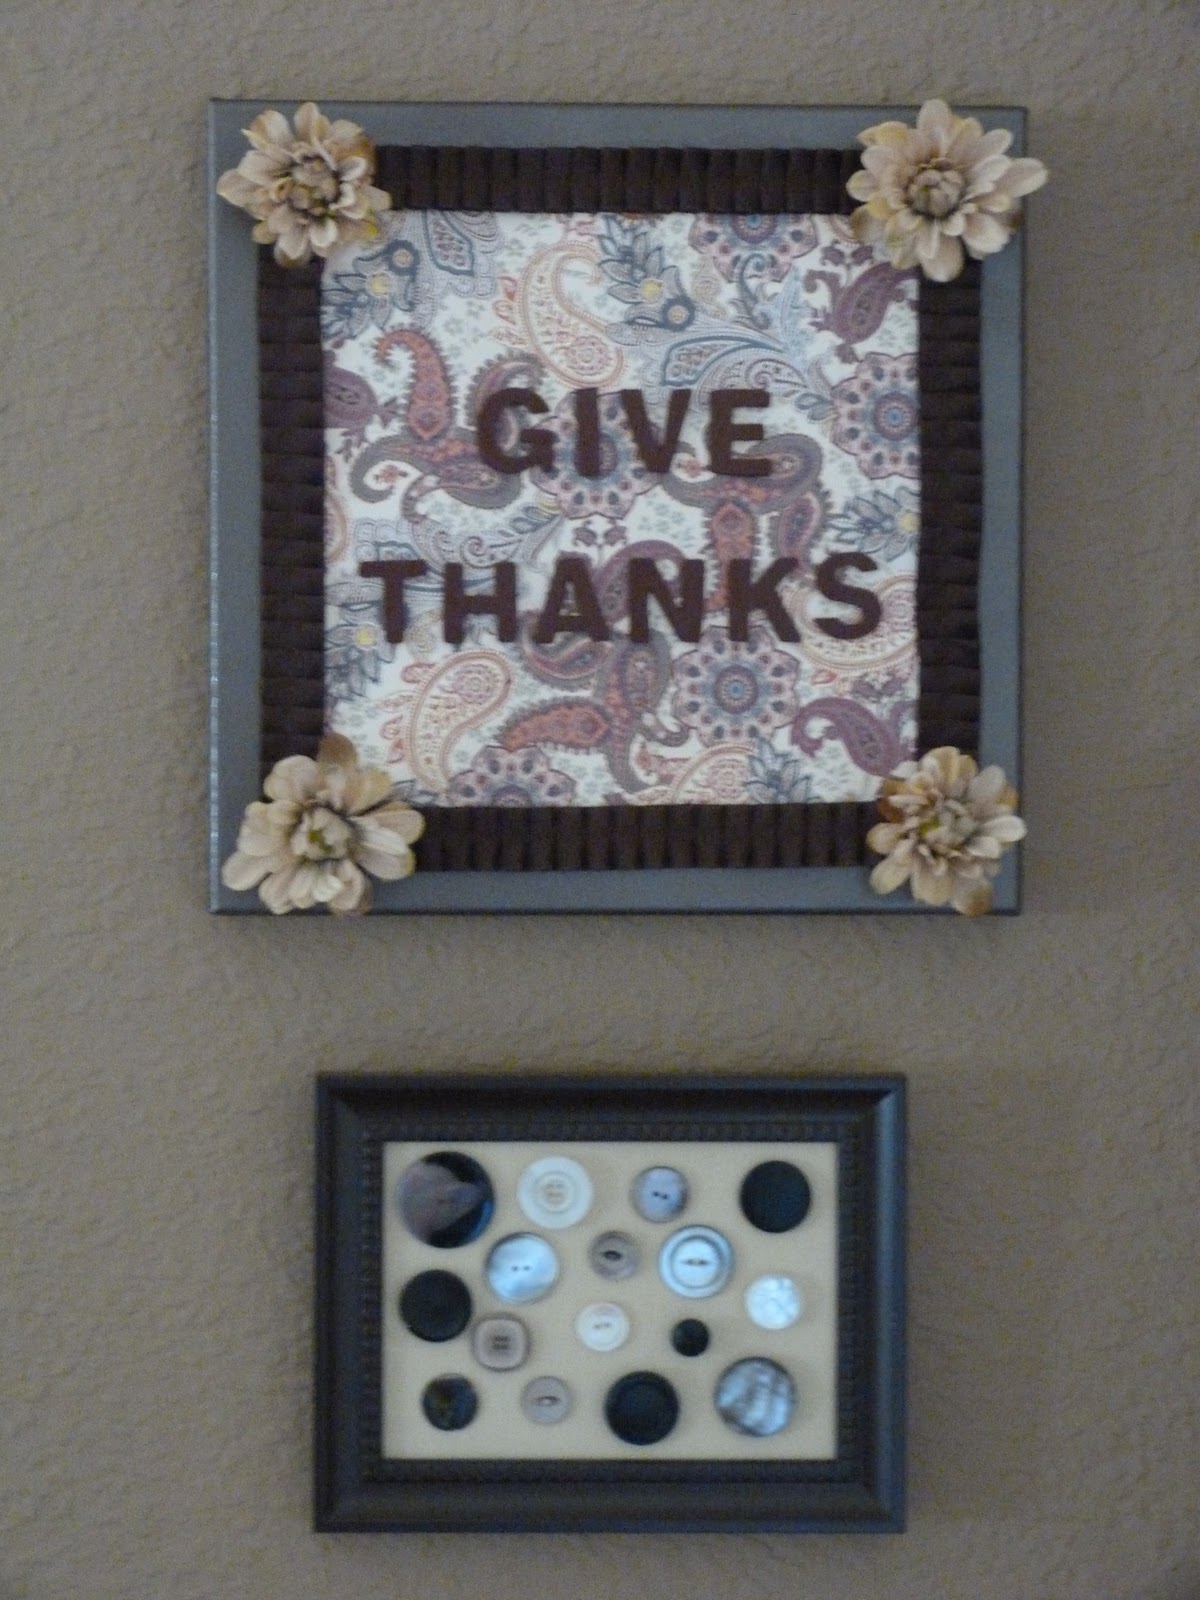
After realizing that the edges wouldn't lay completely flat I decided that I would put some ribbon along the edges of the paper.  Then, to mask the corners I applied some silk flowers.  I picked out "Give Thanks" from the wooden letters and painted them the burnt sienna color.  I used hot glue to attach everything and called it a night.


Stay tuned to find out how this is going to be tied in to part II of my Thanksgiving idea. 

Wednesday, October 26, 2011

Thursday Thoughts

Ten Thoughts This Thursday
1.  I wish...my legs were longer.

2.  I want...stylish fall shoes.

3.  I think...I take too many things for granted.

4.  I laugh...at some of the poses my cat sleeps in.

5.  I appreciate...friends that are genuine.

6.  I enjoy...a good massage (but need them more often.)

7.  I watch...Real Housewives of Beverly Hills (there, I said it.)

8.  I am proud...of my son's intrinsic motivation towards school.

9.  I recommend...Marcona almonds w/rosemary from Trader Joe's.

10.  I hope...I can win over the students at today's assembly.

Sunday, October 23, 2011

Felt Flower Pillow

About a month ago I found some great pillows for our couch, which meant I could get rid of some old pillows.  Once I did that, it look bare so I thought I'd try my hand at covering a pillow with some felt flowers.  I had success with my felt flower wreath so I decided to do something similar.

I bought 4 pieces of felt (4 for $1.00) to add to my existing supply of felt and a plain pillow from Walmart for $9.00.  I had looked around other stores for something plain and came up empty handed.  I knew "Wally World" would have simple inexpensive pillows.

My goal was to tie in the colors of our curtain material.
I started by cutting out the felt to make different kinds of flowers.  For the pom pom flowers, I followed the directions from Lines Across My Face--the rest I just free-handed.


It took me a long time to arrange the flowers to get them in a placement I liked.  I ended up not using  some flowers I had initially made and then I had to make some flowers to fill in spaces.  


Not too shabby for a $10.00 project!

Tuesday, October 18, 2011

Scrapbook Paper Pumpkin

I recently tried my hand at some scrapbook paper canvas art.  After completing the project I began to think of other things I could create with paper and Modge Podge.  Since pumpkins are seen just about everywhere now, that's where I got my inspiration.  

The materials I needed for this project were scrapbook paper,

 a fake pumpkin, and Modge Podge.

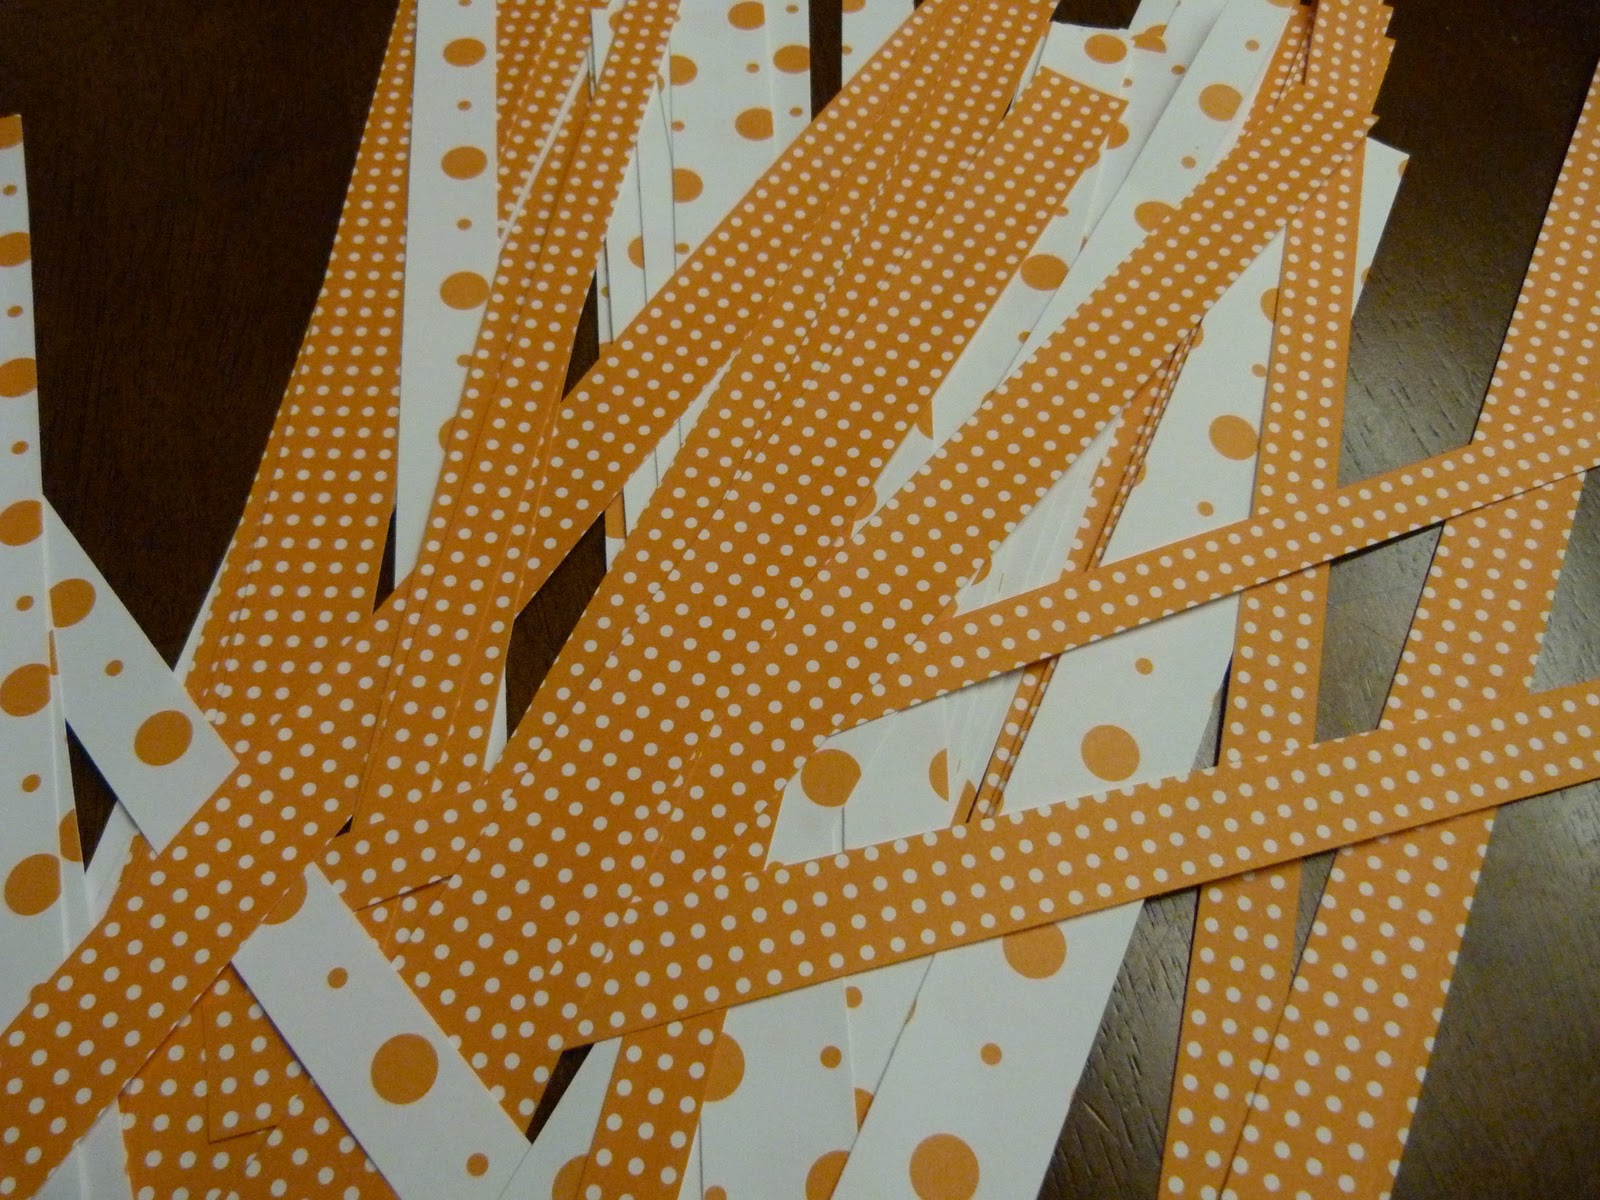
The first thing I did was cut the paper into strips.  I didn't measure them, just eyeballed it using my scrapbooking paper cutter. 

I plopped myself in front of the TV with the pumpkin, warm water, a dish of Modge Podge, a paintbrush, and the paper.  Before applying the paper to the pumpkin I lightly dipped the strips into the warm water, one at a time.  It did make the paper fragile to work with, but it stuck to the pumpkin wonderfully.  I ended up painting small areas of the pumpkin with the glue before putting the strips on and then again, brushed more glue on top spending a lot of time on the edges to get them to lay down and look smooth. 

 Here we are...all done!

Because the paper had straight sides and the pumpkin was round, it was difficult to not have any creases.  


Last month I purchased the "Trick or Treat" decal from Group Dealz for $2.50.